It's the season for pumpkin pie! And pumpkin pie never tastes better than when we make it ourselves with delicious plant milk. It also means you can control what goes in it and don't end up with a pie loaded with unnecessary additives. If you want to make a smooth, creamy, and tasty vegan pumpkin pie to enjoy during this fall, read on to learn how to do it in a little over an hour!
This gorgeous pie uses Emlhurst Unsweetened Plant Milk of your choice and we have all the step-by-step instructions to make sure it turns out perfectly!
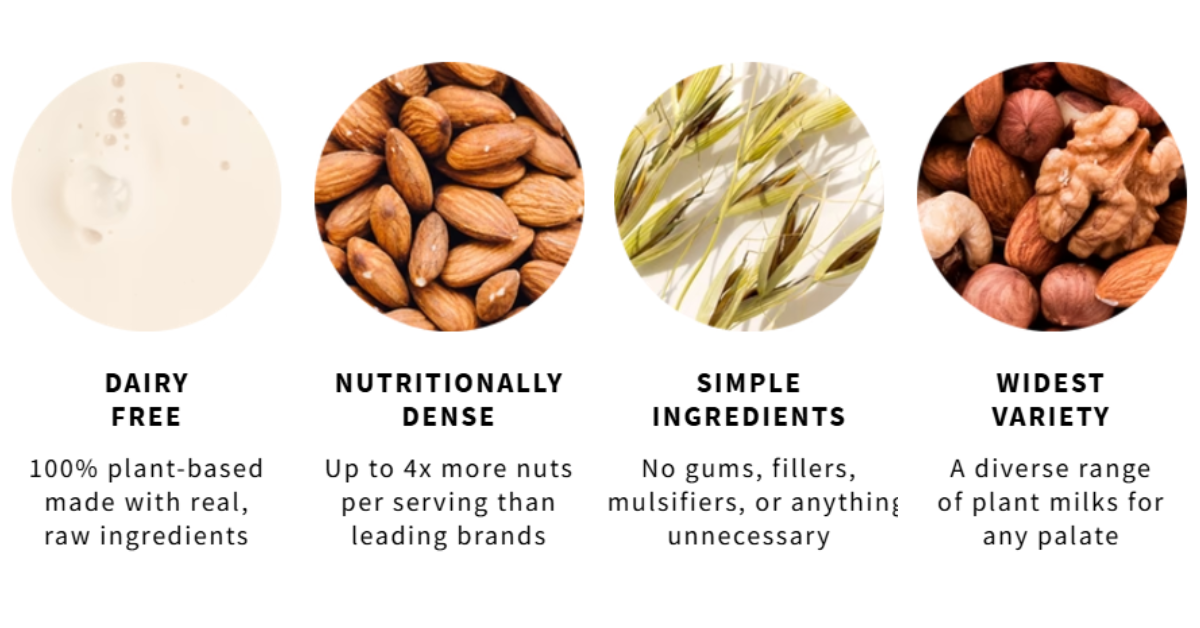
What makes Elmhurst plant-based milk unique?
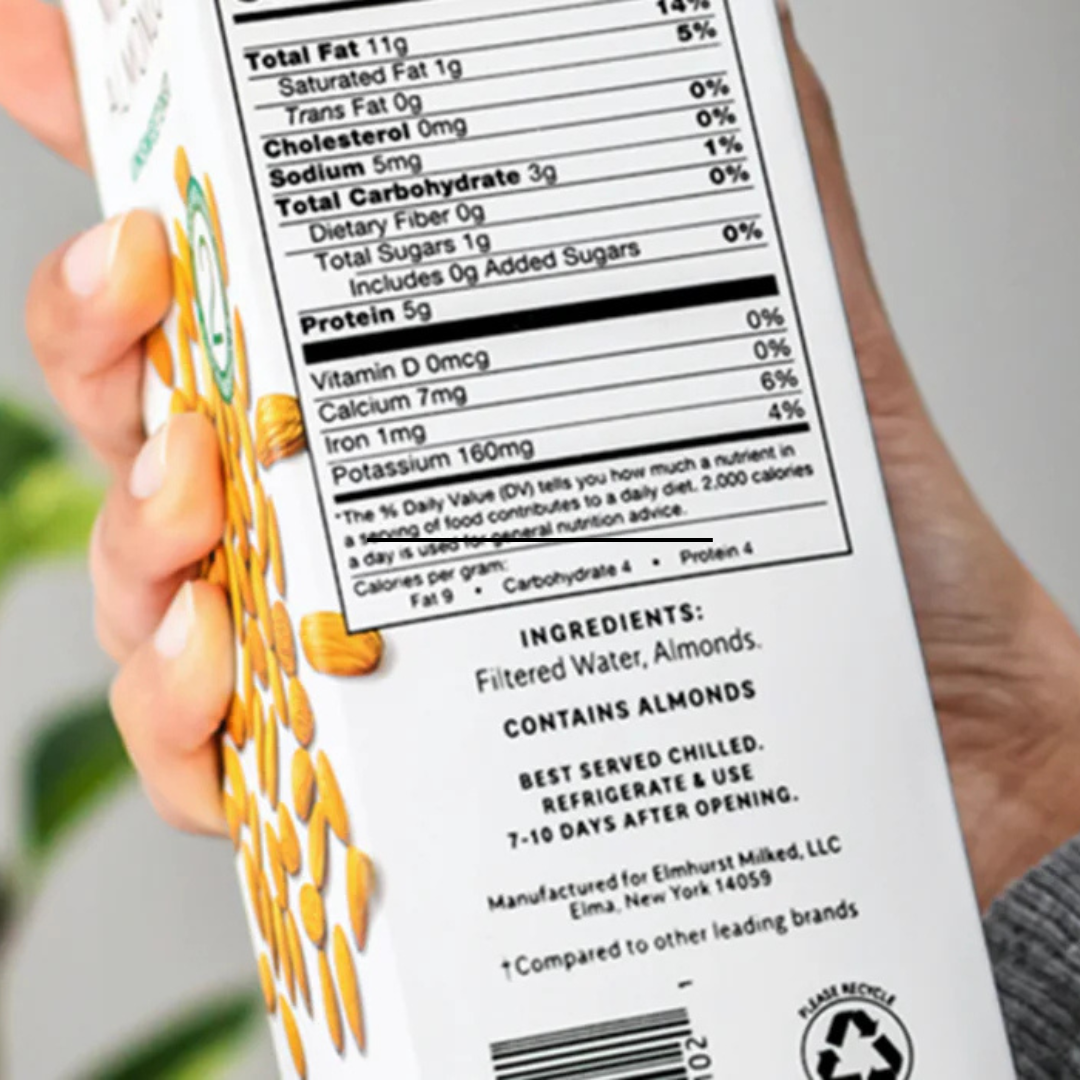
First, a unique HydroRelease™ method allows Elmhurst to use more of the source grain, nut, or seed. This means superior nutrition and flavor with fewer ingredients. They then package the products in shelf-stable, recyclable cartons. We love that their products have such a variety of uses, ranging from cooking to coffee; soups to sauces.
JUMP TO RECIPE
Can I Just Use Frozen Pie Dough?
Granted, a ton of the pie crusts you find in the store are “accidentally dairy-free,” but what’s the fun in buying one when you can make one at home and get the kids involved? And just because it’s dairy-free or vegan, doesn’t necessarily mean that pie crust will also be free of other added junk. Making it yourself is the perfect way to ensure you’re getting nothing but the good stuff!
Dairy-Free Pie Crust
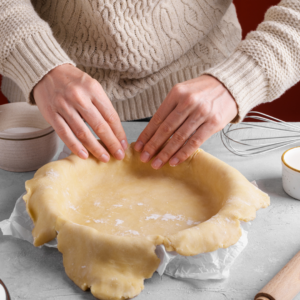
Ready to make your own pie crust?
Ingredients:
- 1 ½ cups all-purpose flour
- ¼ tsp Salt
- ½ cup cold Vegan Butter
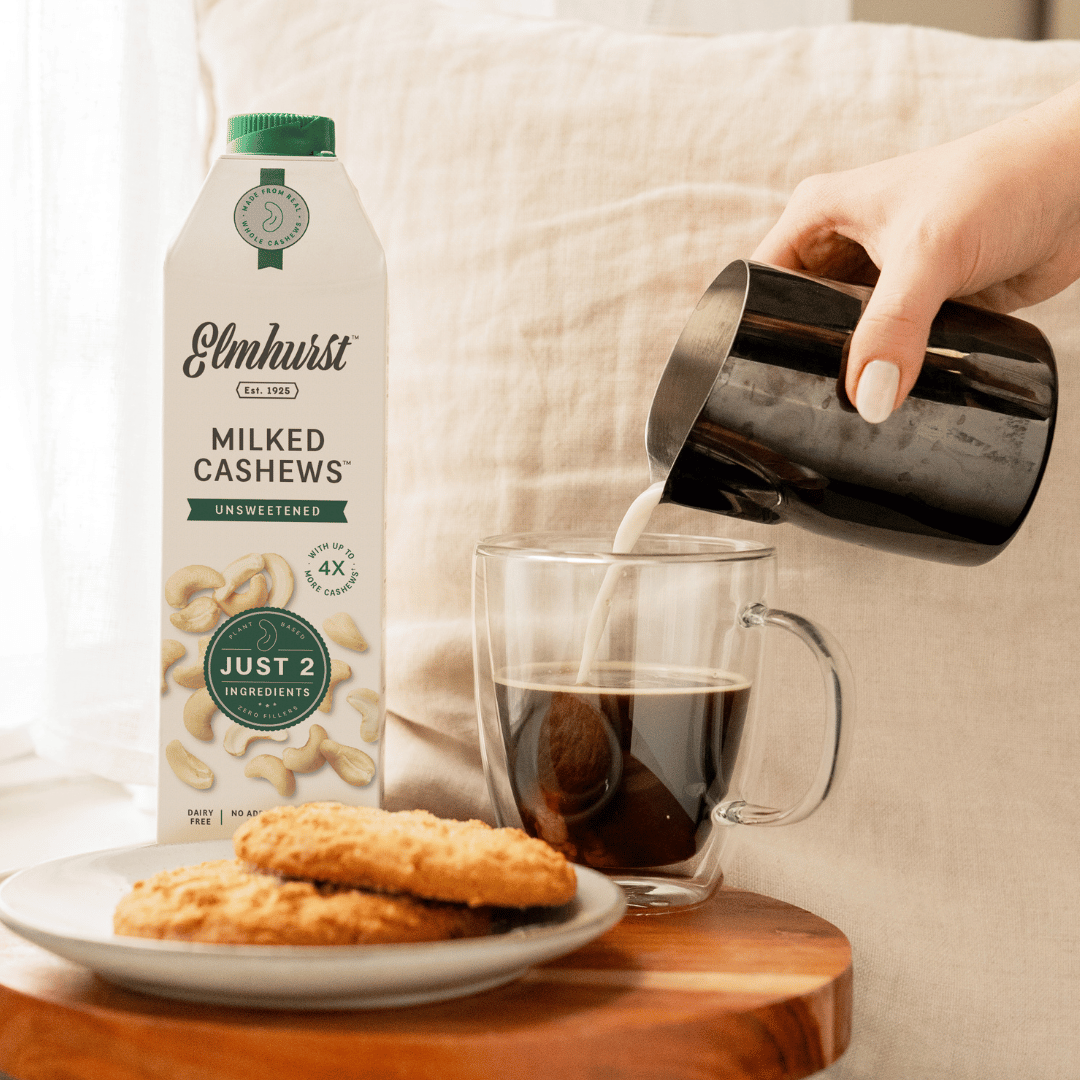
- ¼ cup of cold Plant-Based Milk, or more if needed. Emhurst Cashew Milk is great for baking!
*Optional - ½ tsp Sugar
instructions:
-
Making your dough
Put the flour, salt, and sugar into a large bowl and mix thoroughly. Next, cut your vegan butter (the colder the better) into cubes and scatter them into your mixture. Then, take a fork or pastry cutter and cut the butter into the flour until you end up with a crumble-like mixture. Next, add the milk – pour it around the mix rather than in one place – and combine. Continue mixing until you have a ball of dough, then stop so you don't over-mix!2. Roll out your dough
Spread a tea towel and lightly sprinkle it with extra flour. Push the dough into a ball, take it out of the bowl, and place it on the tea towel. Roll your dough until you have a circle a few inches bigger than your pie dish. This ensures you have enough for the sides and edges and to cut away at the end. Remember you want a consistent thickness, too.3. Finishing your pie crust
Lift the tea towel and flip your dough into your pie dish. Gently press, so it takes the shape of your pie dish. Next, cut any excess dough away from around the edges and use this to fill any holes that may have appeared. Finally, pinch the edges to form the pie crust. And you're done! If you're often looking for a dairy-free pie crust, bookmark this one to use again and again. If you ever need to bake your crust first, pierce the dough with a fork and bake it for 15 minutes at 450°F.
Dairy-Free pumpkin pie filling
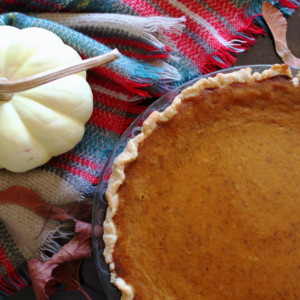
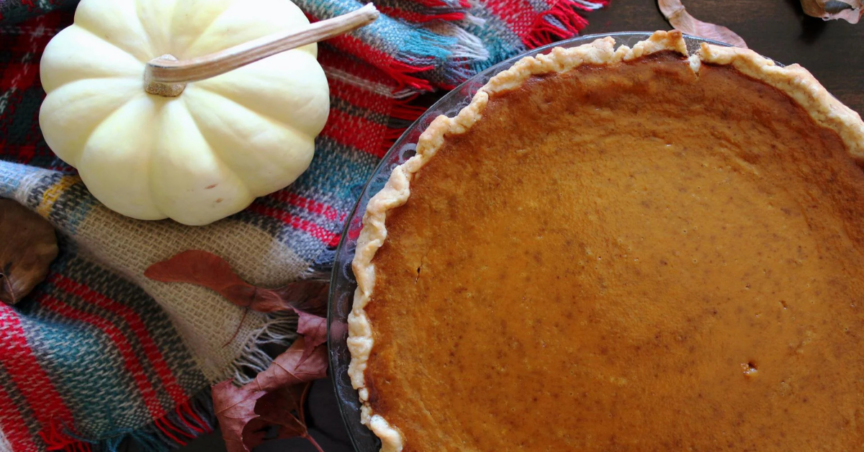
Deleiciously spiced dairy-free Pumpkin pie!
Ingredients:
- 2 ½ cups Pumpkin Puree – this is not the same as pre-made pumpkin pie filling
- ½ cup Elmhurst Unsweetened Plant Milk of your choice
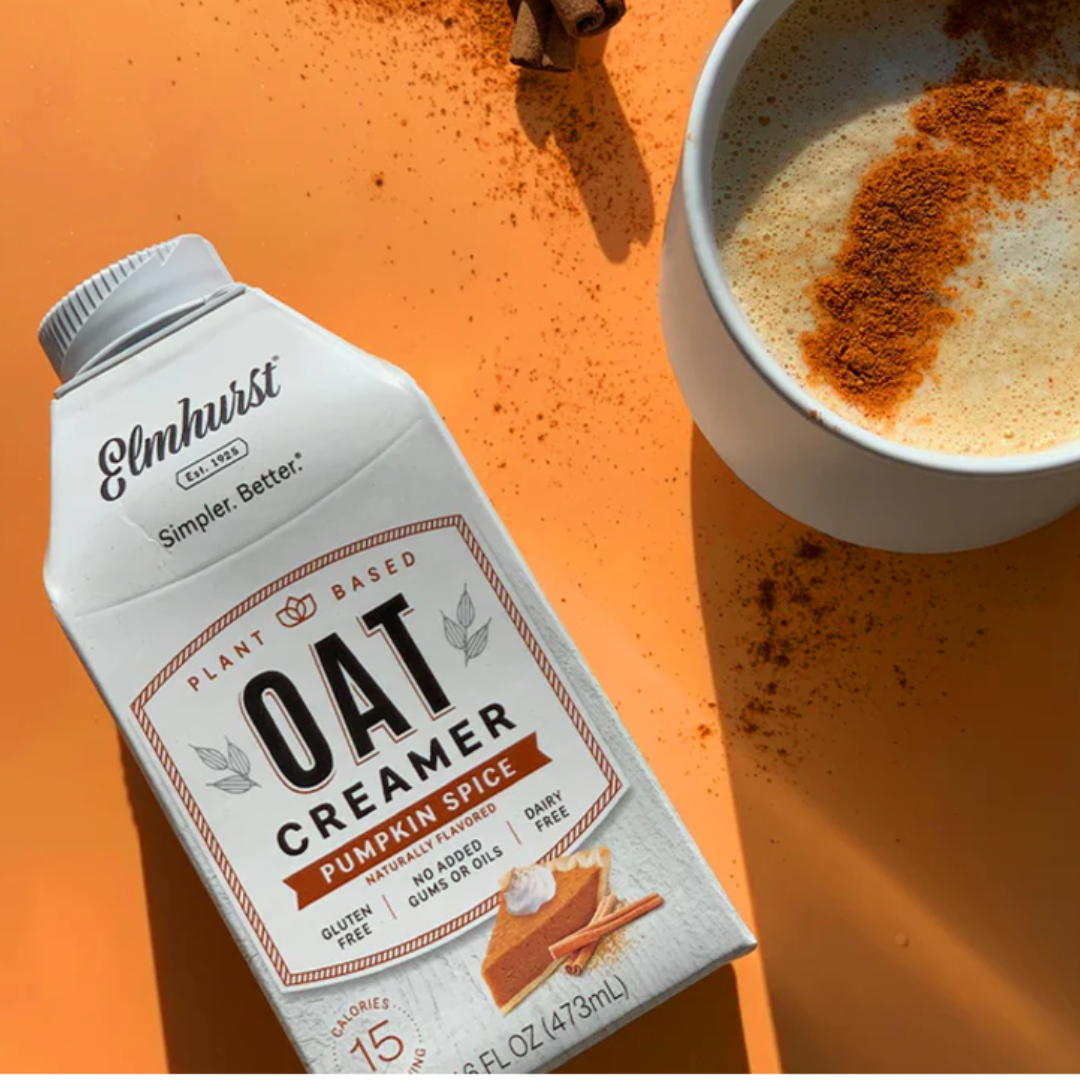
- 4 Tbsp Elmhurst Pumpkin Spice Oat Creamer*
- ¼ cup Brown Sugar or Coconut Sugar
- ¼ cup of Maple Syrup
- 4 Tbsp Arrowroot Powder
- 1 tsp of Vanilla Extract
- ½ tsp Cinnamon
- ¼ tsp Salt
- Your dairy-free pie crust from above of from the store.
*If opting to skip the oat creamer, we recommend using our cashew milk for this recipe. Up the amount of milk from ½ cup to ¾ cup, and add 1 tsp of Pumpkin Pie Spice.
instructions:
This is very easy and should only take five minutes, so preheat your oven to 350°F before you get started.
1. Making the filling
Add all the ingredients to a large bowl. Mix well until you have a consistent mixture. Remember to taste it as you go – but leave some for the pie! Recipes are guides, so add a little extra something if necessary to get it just how you like it.
2. Add it to your pie crust
Pour your perfect pumpkin pie mixture into your pie dish. Use a spatula or knife to spread your filling evenly - you want to have a smooth, level top.
3. Bake your pumpkin pie
Bake your pumpkin pie for about an hour, careful not to overbake. When it’s ready, your crust will be a golden, lightly browned color and the outer edges of your filling set, while the center should still be a bit wobbly.
4. Cool and refrigerate
Set your pumpkin pie to the side and allow it to cool to room temperature. Then, loosely cover and place in your fridge to fully set. Your pie will need a minimum of four hours – leaving it overnight is ideal.
5. Enjoy!
Serve your pumpkin pie to your guests (or keep it to yourself!) as is or top with your favorite vegan whipped cream. Enjoy! Your dairy-free & vegan pumpkin pie will stay fresh in your fridge for 3 – 4 days, meaning you can make it ahead of Thanksgiving or another occasion and give yourself the time to focus on everything else!
Elmhurst is dedicated to making the cleanest & most delicious plant milks the way they’re meant to be - with the simplest ingredients and by maximizing their nutrition. Plant milks that actually taste like what they’re made from and do what they promise by using more of the nuts and grains you want and none of what you don’t. It’s Simpler. Better.
Wondering what to do with the kids in Metro Vancouver this weekend, or what to make for dinner? You can find it at HealthyFamilyLiving.com! From the Sunshine Coast to the Fraser Valley, we’re the best online resource for busy parents looking for practical tips for healthy, active, sustainable living. For the latest on family events, outdoor adventures, birthday parties, camps & classes and kid-approved recipes, follow us on Facebook and sign-up for our parent-approved e-newsletter!
